Fired white clay and terracotta encased in epoxy casting resin
2020
Large piece – 9 x 21.5 x 4.2 cm, small piece – 4.5 x 9 x 1.8 cm
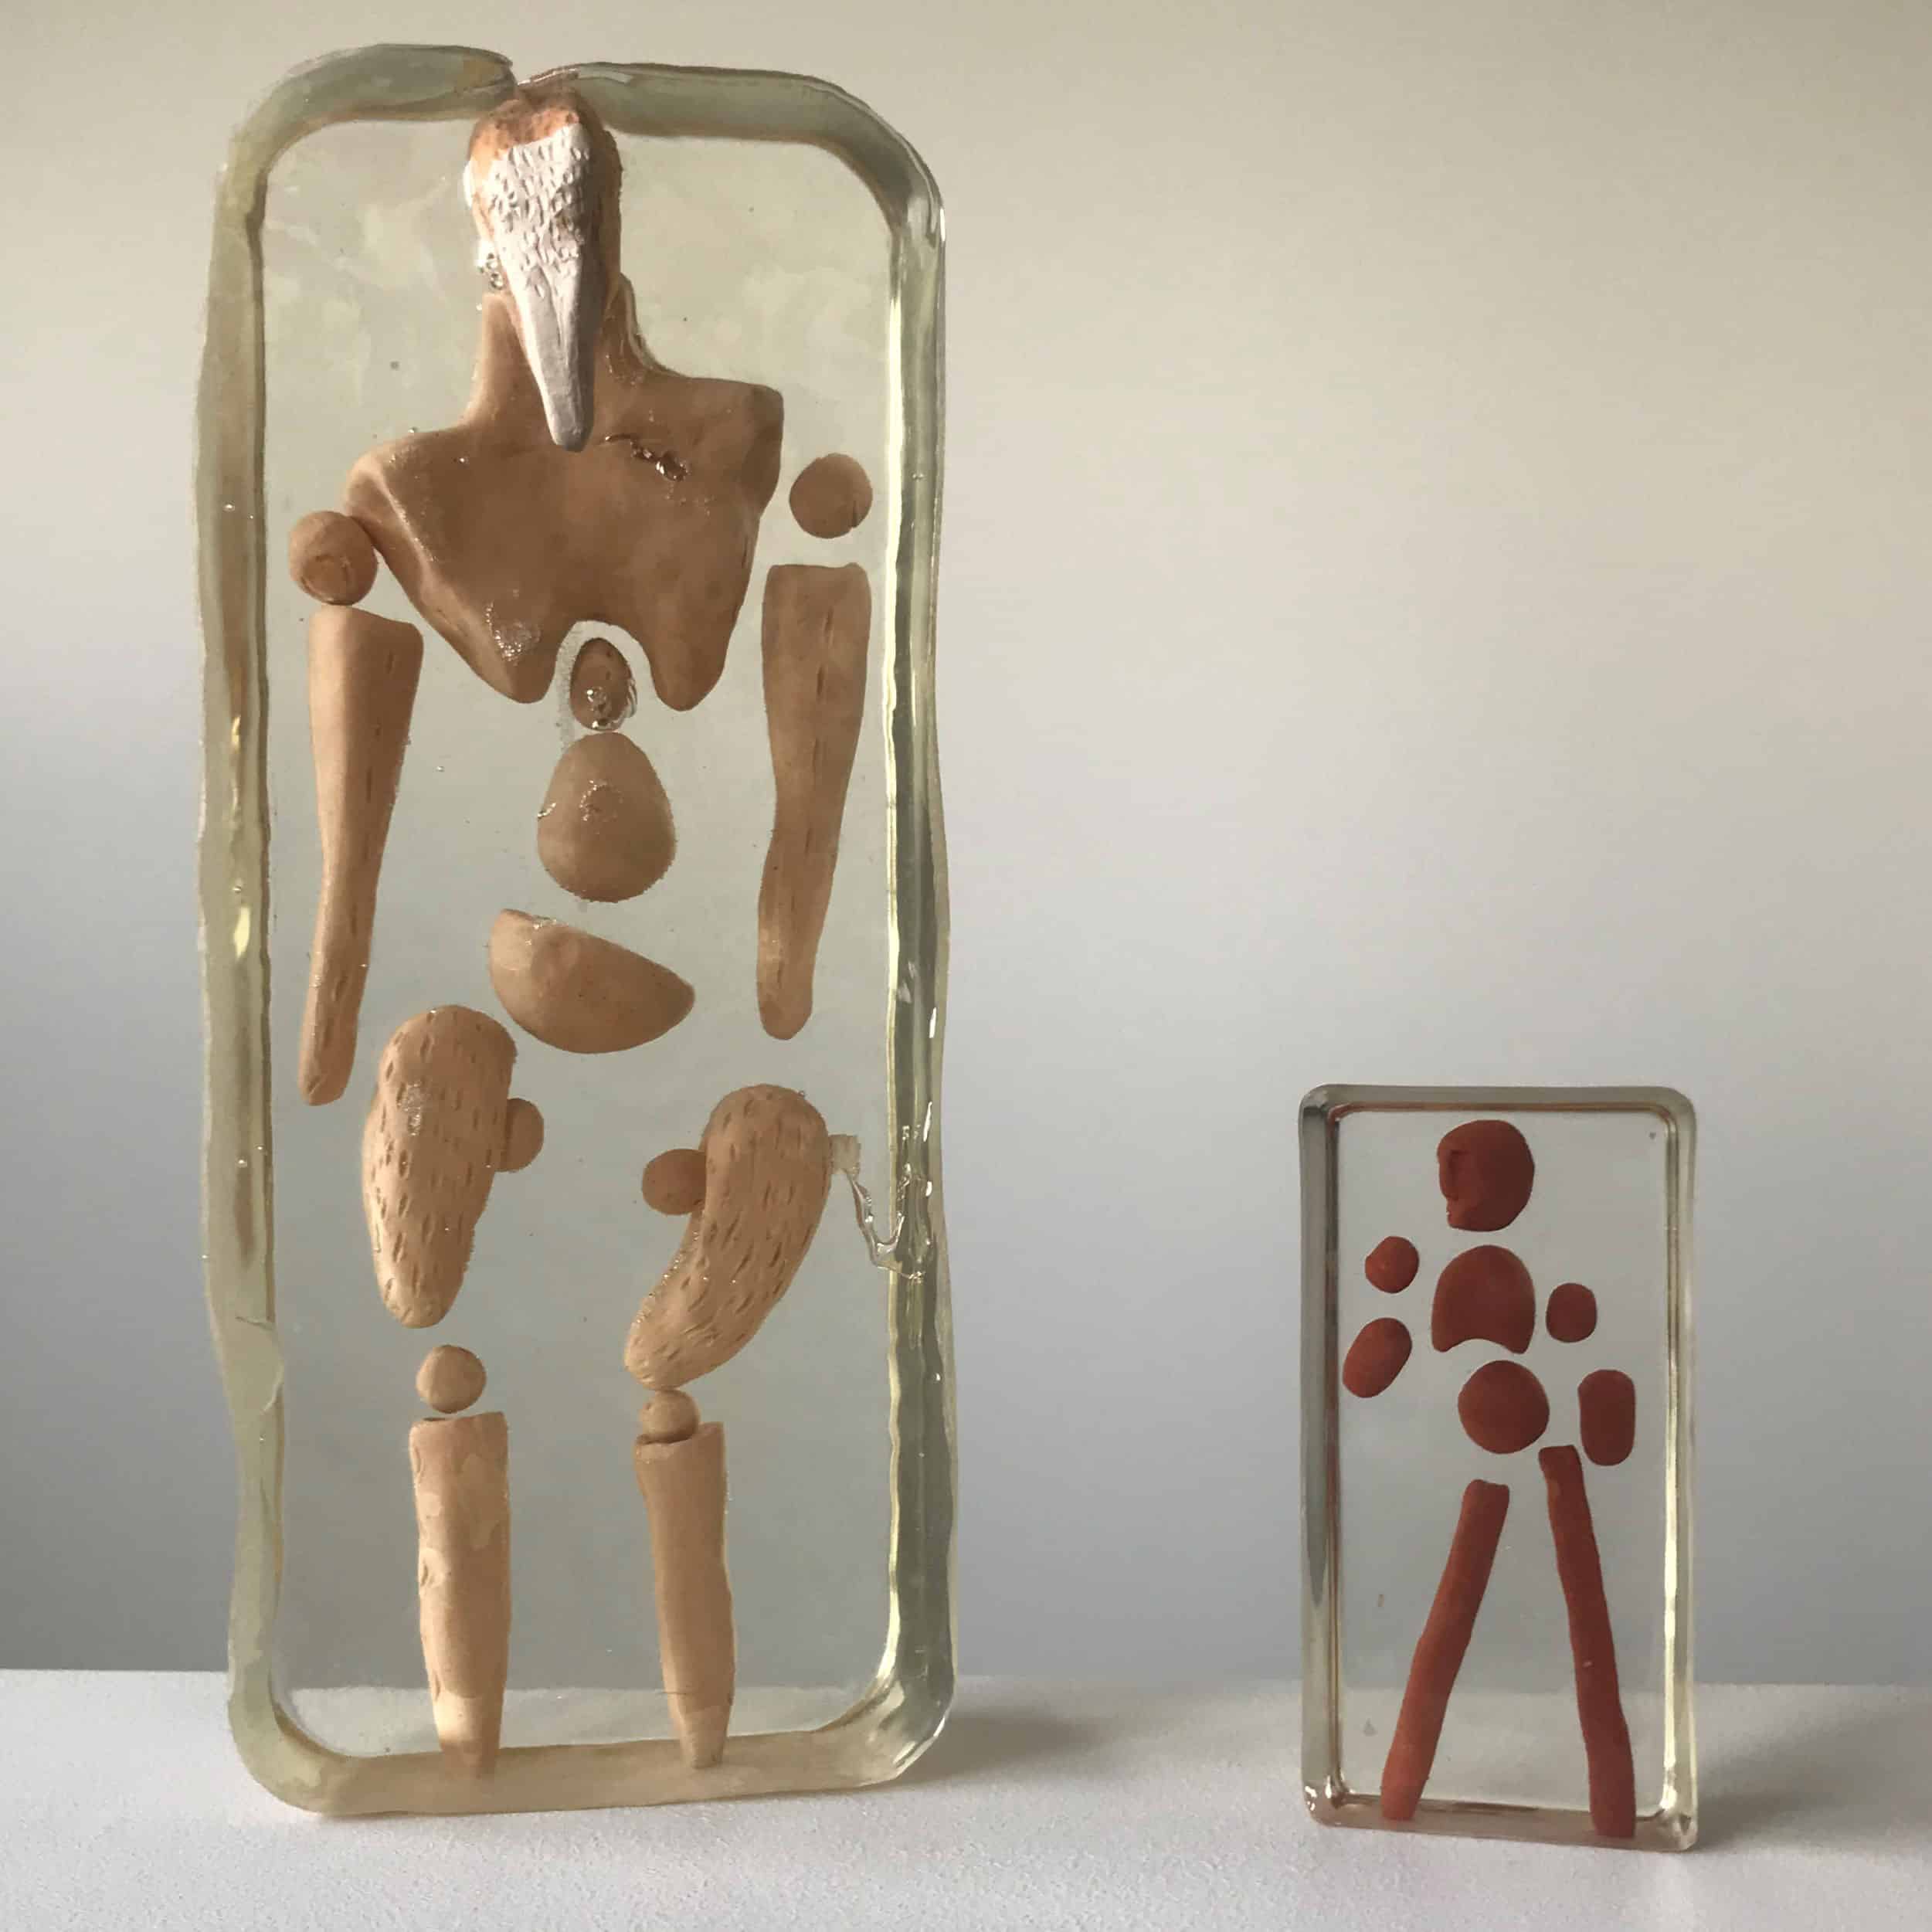
I had an idea mid way through this year, and I was so excited about it that I emailed my studio arts teacher to see if the concept was actually feasible. I ended up having to wait till the end of the year before starting. However, it eventually came into fruition and is what you see before you! this was my final assignment for studio arts 2020, and it was an… experimental one.
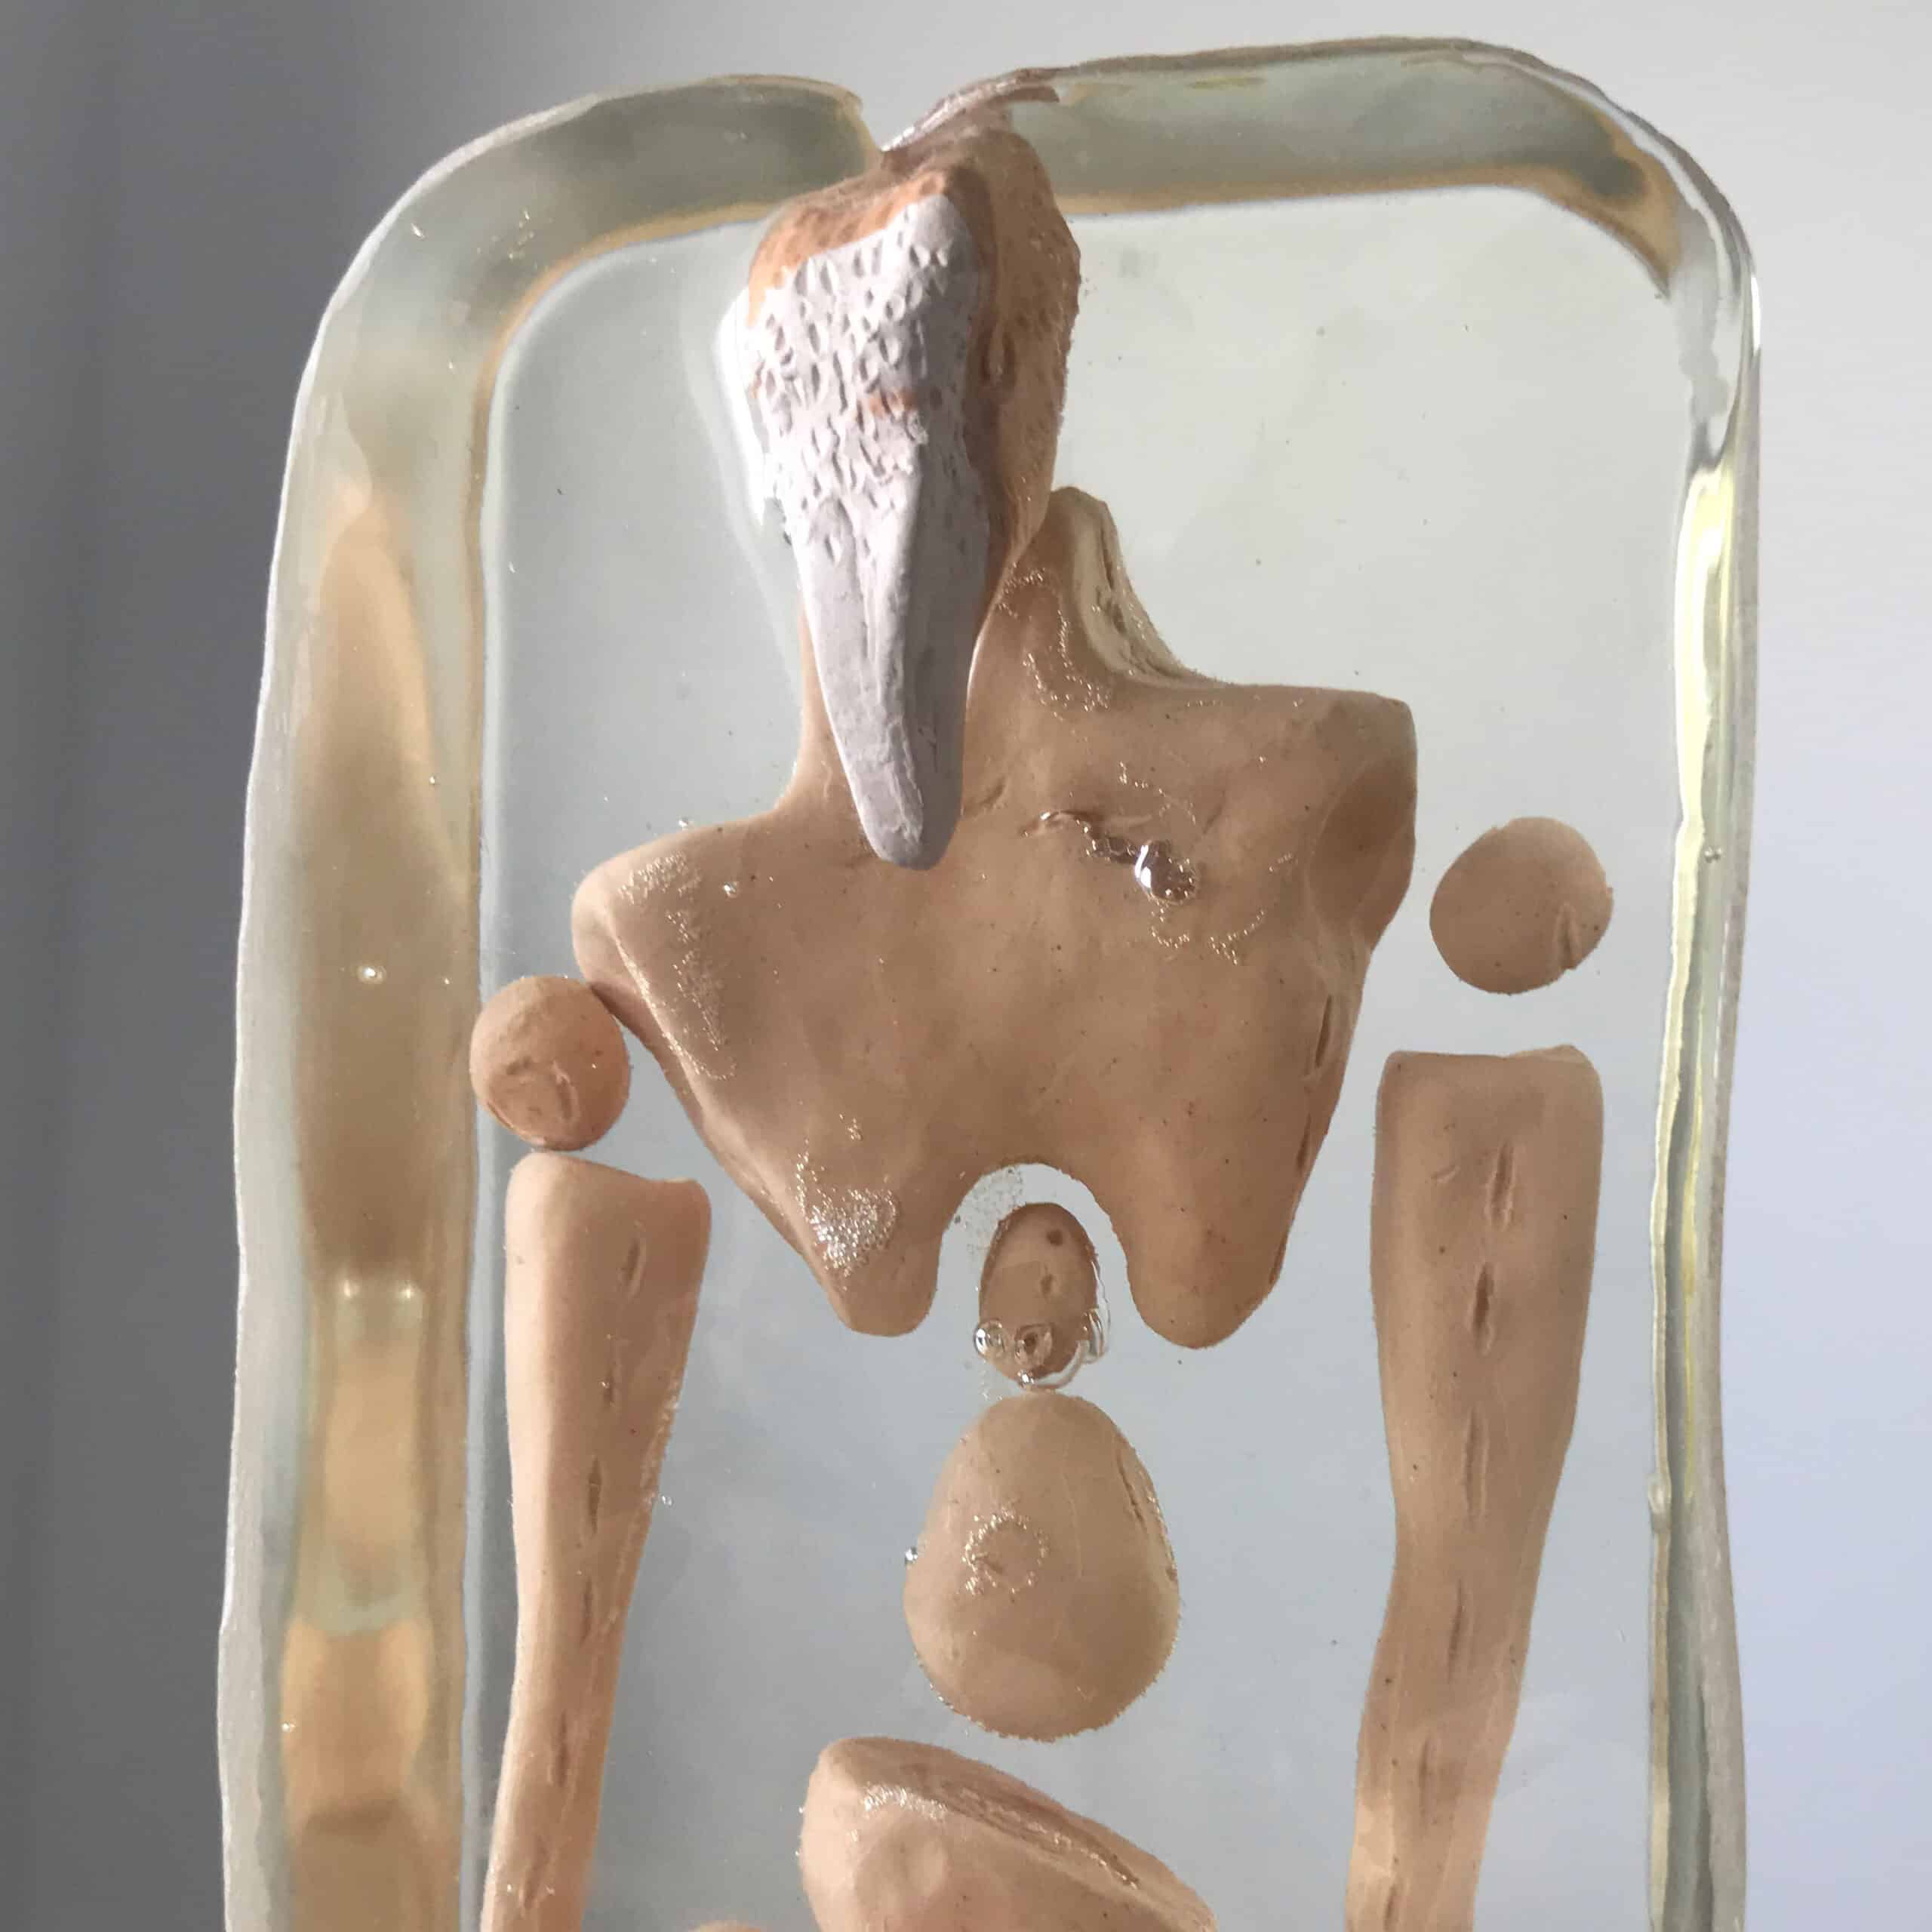
The style I used for the figures is something I’ve developed fairly recently out of pure spite for human anatomy. I got so frustrated with the complexity of figure drawing that I decided I’d strip it back to the fundamental shapes. This has helped me understand proportion and stances a lot more. However, I’ve also developed it up to create something odd and unique, as you see in my sculpture. The thing is, I had no idea how to suspend the pieces in air. That’s when I had the idea to use resin. This choice turned out to be a source of quite a few problems.
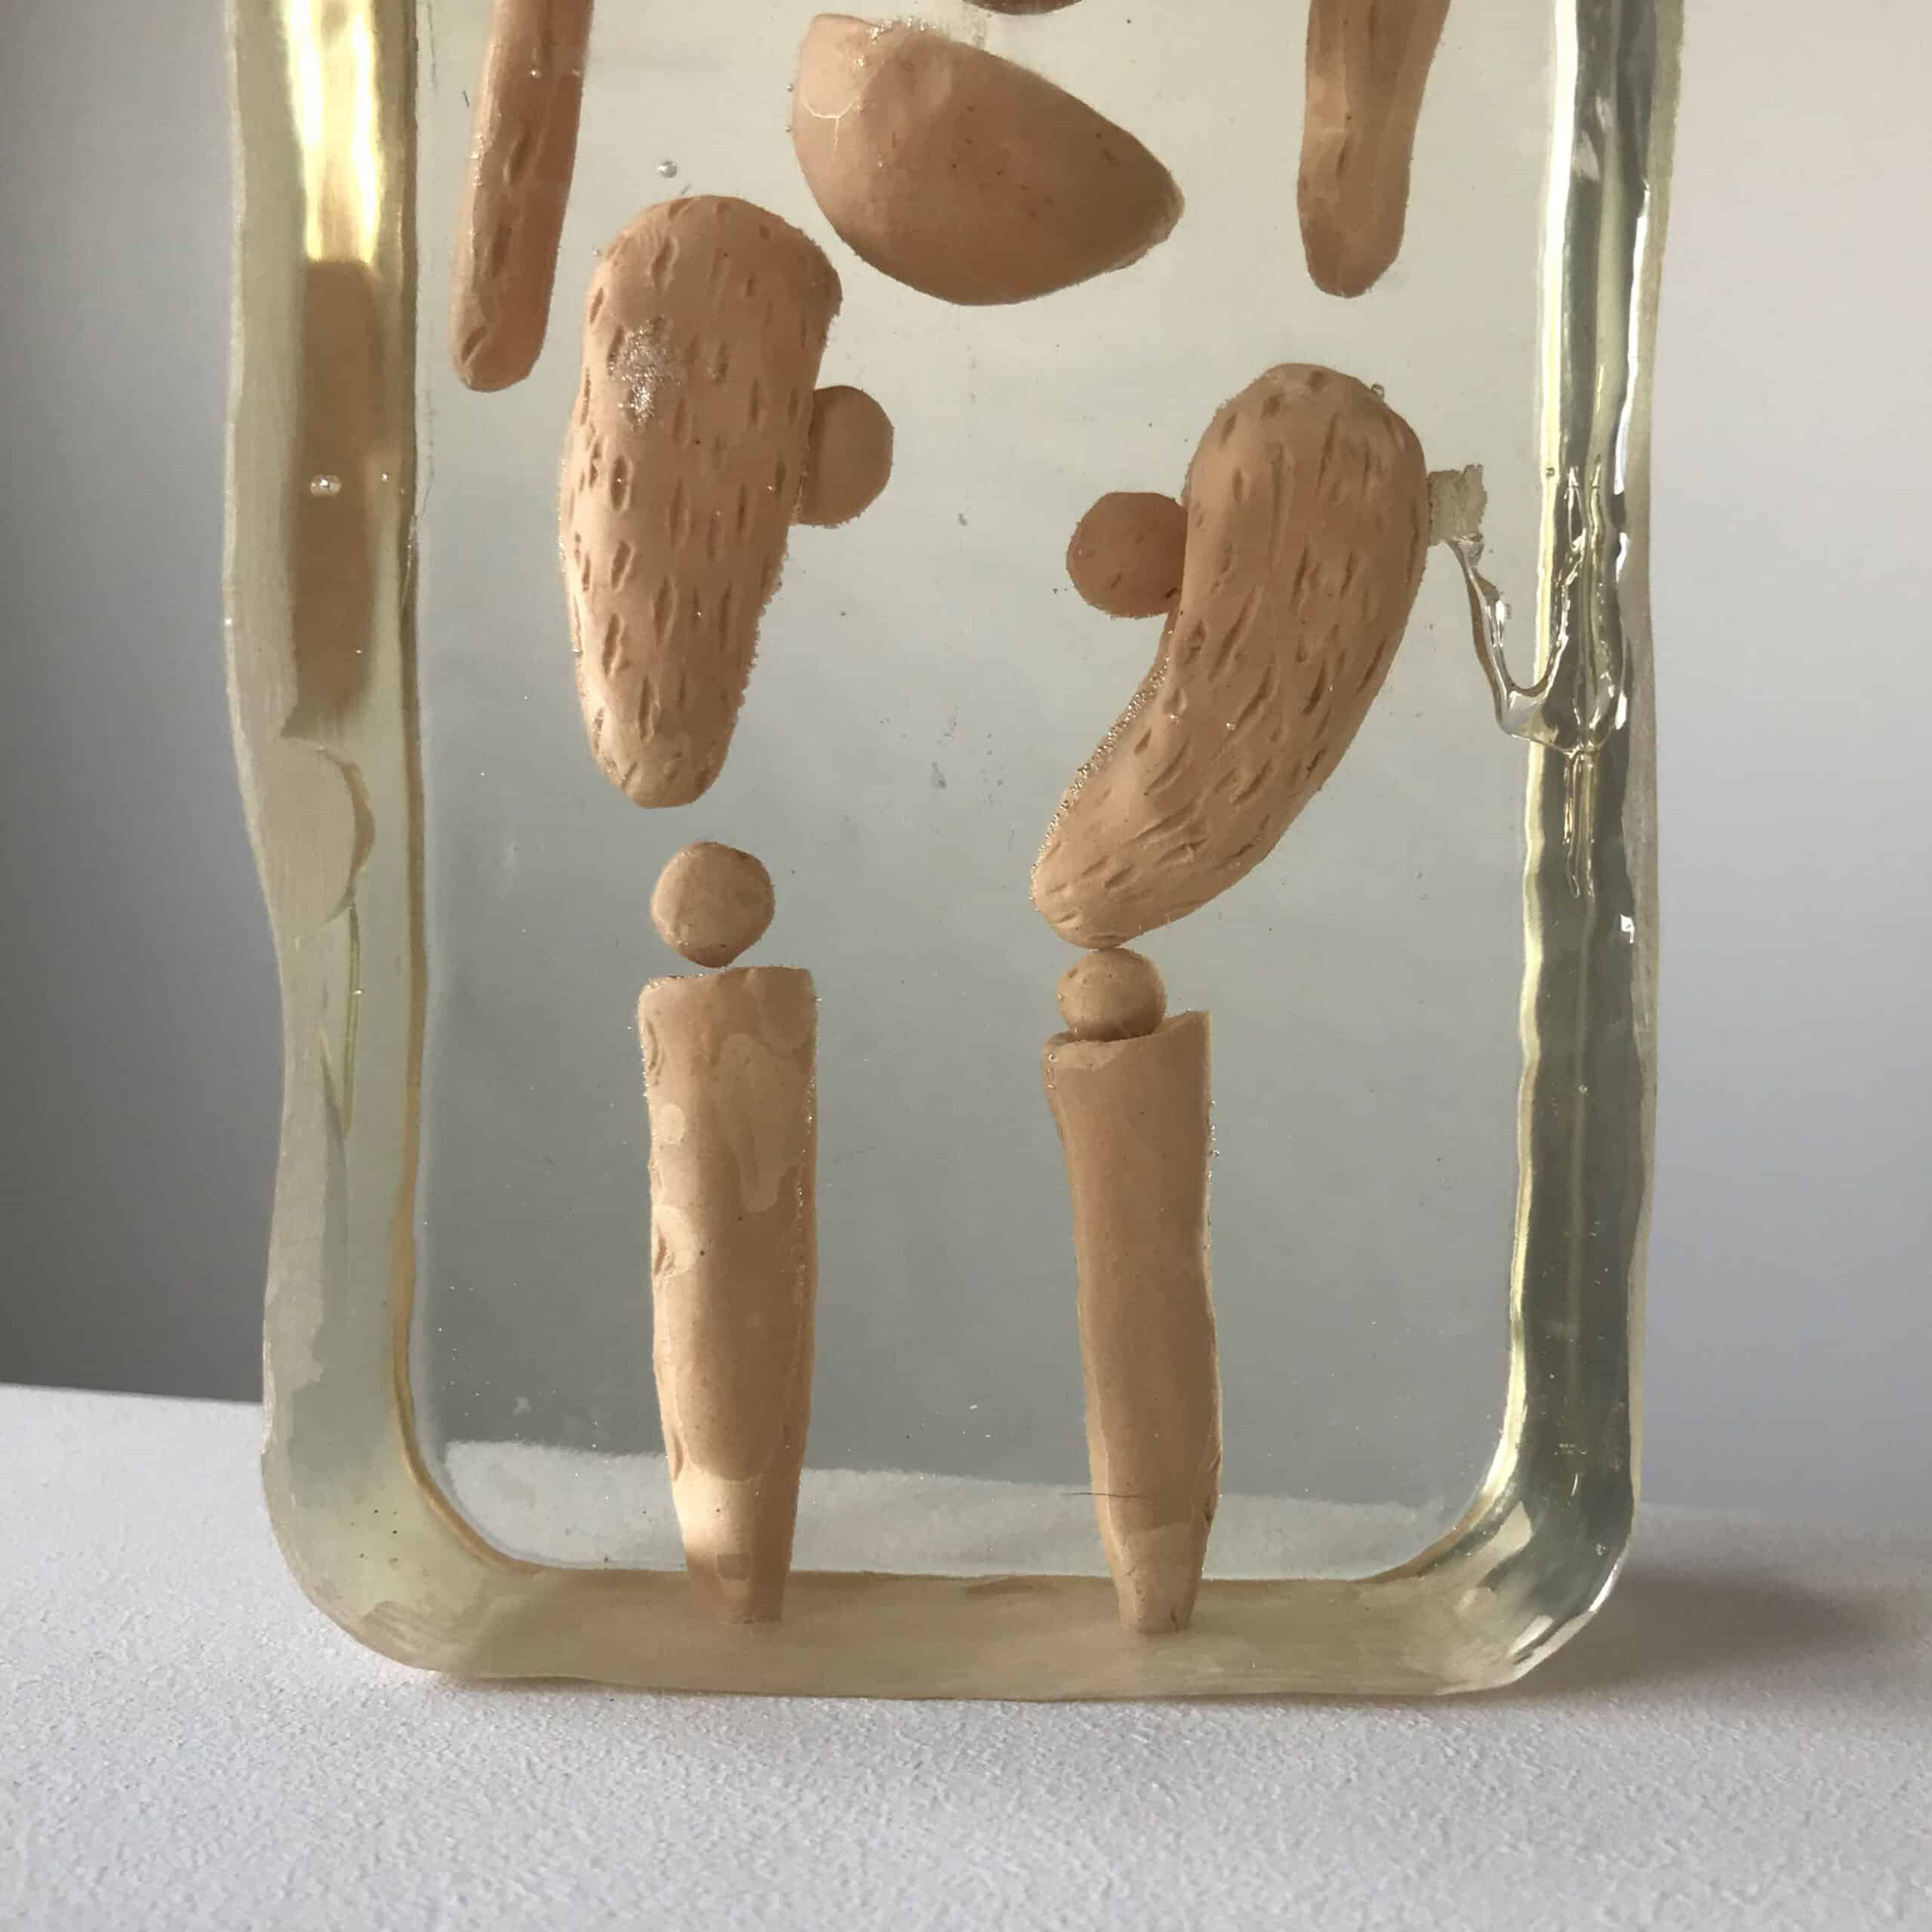
One problem was that the clay was porous, which meant as the resin cured/hardened, bubbles rose up. This was really annoying as the bubbles drew the attention away from the figures. This meant after pouring out the resin, a source of heat, like a blowtorch, had to be used to burst the bubbles (this bit was really satisfying to watch so in a way it makes up for it). This had to be done multiple times as the bubbles were really quite pesky as more always surfaced. You can see in the photos that not all the bubbles were popped, which is a little disappointing.
I used silicon molds for casting, as this is one of the few materials that was supposed to easily peel away from resin. In all my trials, the silicon had been fine. Everything was going well until the last layer of resin was poured onto my final. I was completely unaware of the fact that there was a limit to how much resin you can pour in one go. Resin also heats up as it sets. So, when the last lot of resin started to get a little too warm, visible fumes started wafting up (don’t worry – I was outside for ventilation) and the mould was warping, I was a tad worried.
Once it had cured overnight, I came back to school excited to see my almost finished sculpture. ‘Excited’ is an understatement, I was ecstatic. This was a project I had been working on for nearly 2 months (this included a lot of folio work), so you can imagine my disappointment when I came into class and found that the silicon mould had actually melted ONTO my sculpture. I spent the whole class trying to pick off silicon fragments from the sculpture. Luckily all the silicon came off, but this part was very time consuming. It also left the sculpture warped a little bit. I sort of grew to like this though, as it went with the weird, eerie aesthetic so… “happy little accidents”, right?
To get the sculpture to stand up on its own, I had to use a Dremel to sand down the bottoms. This left the resin in these areas looking really cloudy. So, now my plan is to use three different types of sandpaper to carefully sand it all back. I’m hoping it will come out a little less cloudy and not as noticeable.
Despite the problems I’ve had to solve (and still need to), this piece is one of the coolest and riskier works I’ve done. I’m definitely going to tackle resin again next year… I’m already thinking of bigger and better ways to go about it.